How I Built and Launched a SaaS App In 2 Days
A little over a week ago, I launched RailsWork, a job board for Ruby on Rails developers. In this post I’m going to talk about the why of my project and also the how, and the tools I’ve used along the way. Feel free to skip around 👀
Like a lot of folks, I have a bad habit of starting projects and then completely abandoning them for the next big thing. I actually managed to launch 2 iOS apps last year, and 2 Android apps the year before that. Funny enough, I’ve spent the last year doing more web application development than mobile, and I figured it’s time that my side project portfolio reflected that.
I wanted to create a web app that accomplished a few goals
- Force me to learn something 📚
- Show off my skills in web application development 🧑💻
- Solved a problem I face (more on this later) 👀
- Makes me some money 💰
Beyond that, I wanted to actually launch the application and get it in the hands of people.
Starting With The Problem
I’m a college student, and spent a lot of time in the last few years looking for jobs and internships. Right now, a lot of my skillset is in Ruby on Rails, so I was looking for jobs where I could leverage and build on that. So even though it’s not an incredibly complex application, I decide to build a job board niched into Ruby on Rails developers.
There’s are two existing job boards in this space that solve the problem, but the design and experience leaves something to be desired.
There are actually two distinct kinds of people that use a job boards: Those looking to find a job and those looking to post a job. This obviously brings up the issue of needing enough seekers to support the posters and vice-versa. To counteract this, I decided to make job posting free for now, and soon I’ll be posting jobs myself to add value for job-seekers. Once I’ve built up enough of a consistent userbase, I’ll flip the switch on Stripe and start charging employers to post a job.
Starting Development of a SaaS Application
Ironically enough, I used Ruby on Rails to build the job board. I started by generating a new Rails application (yay Rails 6!) and integrating TailwindCSS. Tailwind is a utilitity CSS framework that I’m leveraging to make consistently pleasant designs with an incredible pace. I’d definitely recommend it for almost any project.
Next, I implemented an authentication system so that users could create an account and log in or log out. I followed that up by creating a Job model and both the views and the logic for users to Create, Read, Update, or Delete (CRUD) jobs. This is a pretty simple application from that respect, so up til this point was only an hour or so of work 🥳
User Experience Improvements
Even though I was using Tailwind, my views kind of sucked at this point. I have views for creating an account, logging in, viewing all the jobs, viewing an individual job, editing a job, or creating a job. I spent a great deal of time iterating on this and I’m still trying to get it right.
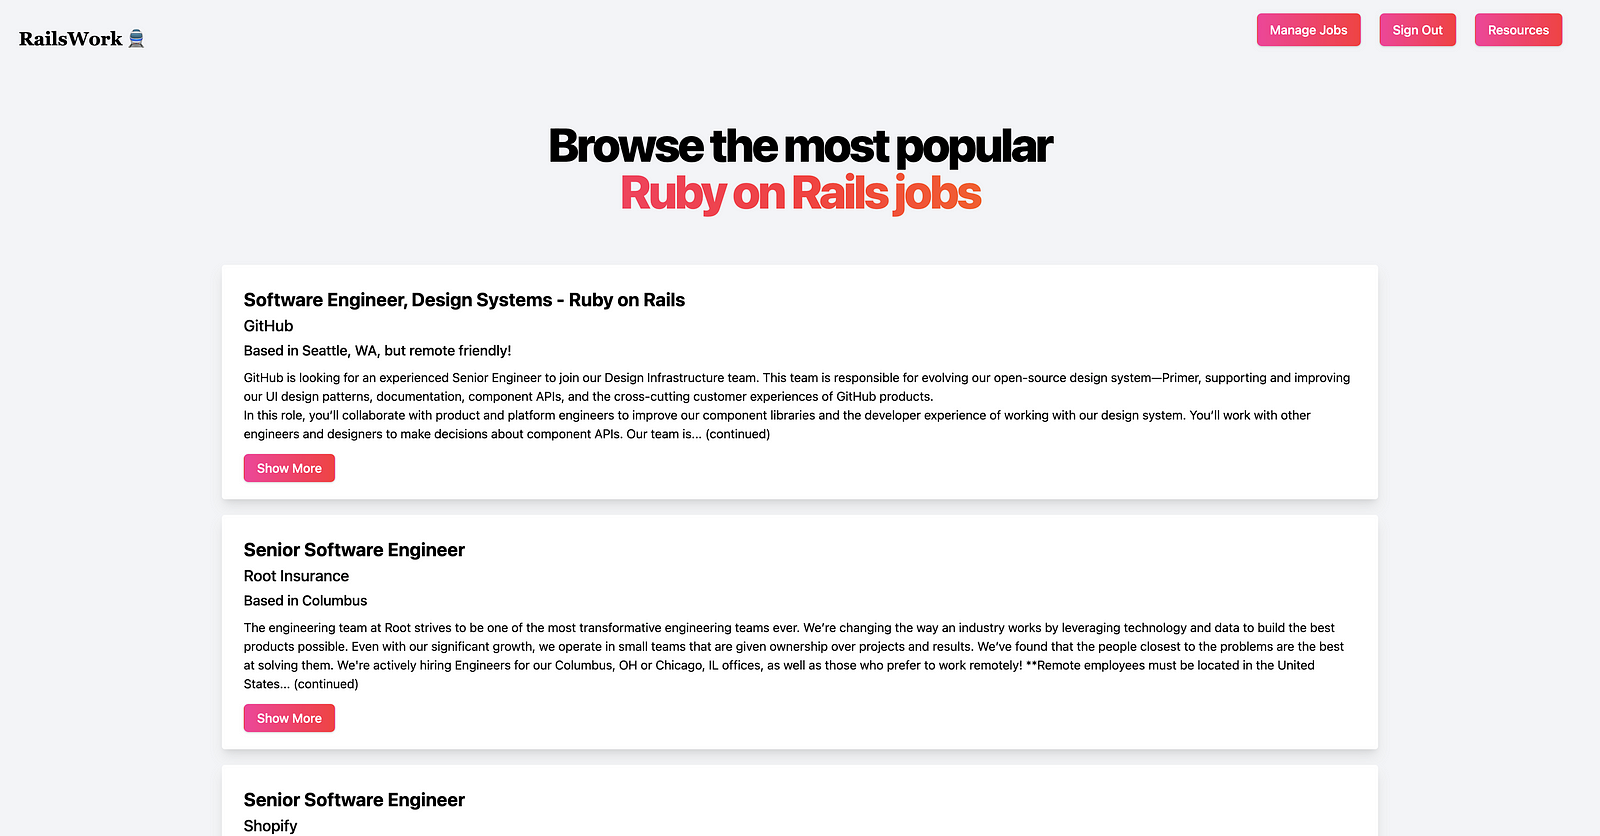
Here’s one of the earlier versions of the homepage. It’s pretty emoji-heavy 😅
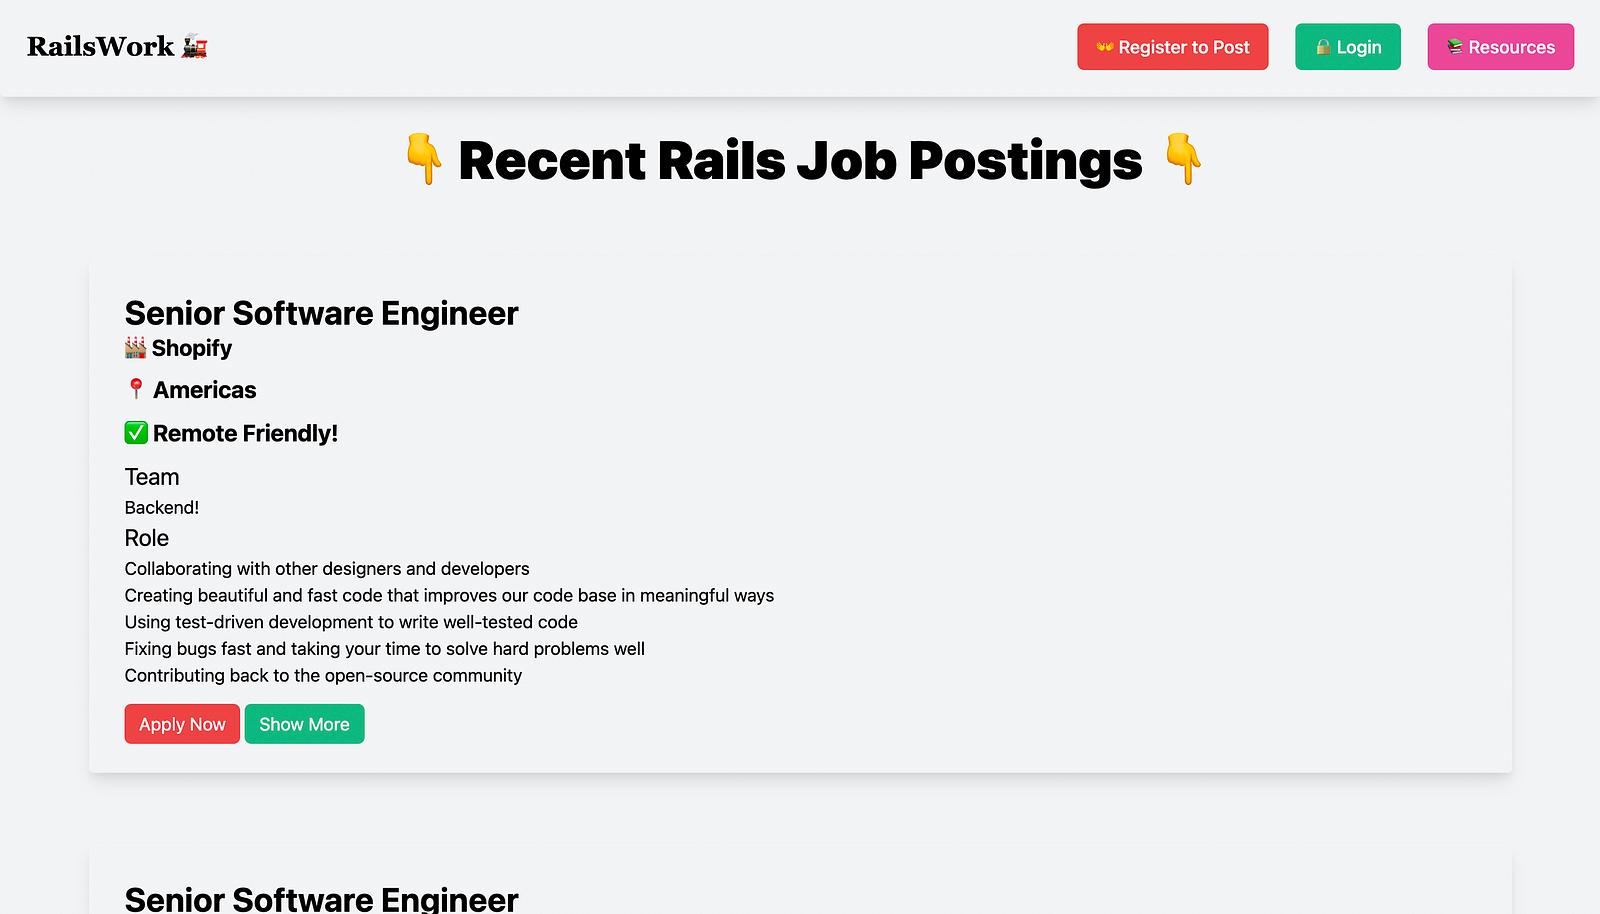
I settled on making the root of the page (the landing page) the index for job postings. So when you go to www.findrailswork.com , you’ll immediately see job postings sorted by recent postings. I figured this is the most valuable page on the site, so I might as well make it the first.
I added markdown support for job descriptions, so folks posting the job can customize it a bit. I also swapped out some colors and made it more remote friendly. Front-end design is a lot of work and I don’t know how everyone gets so good at it. In time I suppose. I also truncated job descriptions so the cards for postings wouldn’t go on forever, swapped all the button colors for a fun gradient, and styled the headline with that same gradient.
After all that, it looks like this as of the time of writing, though I’m still rapidly iterating.

Deployment
Next I did something completely outside my comfort zone and actually deployed the application to production! This is daunting, and nothing like sending an app to the Android or iOS App Stores.
I registered the domain with Google domains for $12 a year, and figured all of this learning was worth at least $12 even if the project completely flopped. Next, I used my student discount to get 2 free years of a Hobby Dyno with Heroku. (If you’re a college student, checkout the Github Student Pack, it’s mindblowing and completely free)
I was fortunate enough to have been tracking the project with Git from the beginning, so deploying wasn’t too bad. I had to swap out my sqlite3 database for postgres, but that didn’t take too much work. I also had to fix a Tailwind bug, but inside of 2 hours my app was live on my domain for the world to see :) After 2 days of banging my head against the wall, I created a very minimal but functional product and put it on the internet for anyone to use. I was eletated and still am at how accessible this is.
So far the site has cost me $12/year for the domain and $0 for the next 2 years to host, after which it will cost $7/mo.
Production App Nice-to-Haves
Now that my application was in production, there were some things I wanted to have settled before I spent any time looking for users.
First, I automated deployments. I setup Heroku with a Github Action to detect any new commits on the main branch and automatically trigger a deployment. This has already saved me time and it’s so fun to just git push and have my app update less than a minute later.
I’m not immune to bugs, in fact I write plenty of bugs. I wanted to know when my 💩 code was affecting my users so I added Honeybadger. Honeybadger took less than 5 minutes to add to my app, and will send me an email with a detailed crash report anytime there’s an error in production. Plus they have a fun name. I don’t have a lot of errors (yet), so Honeybadger is free for me.
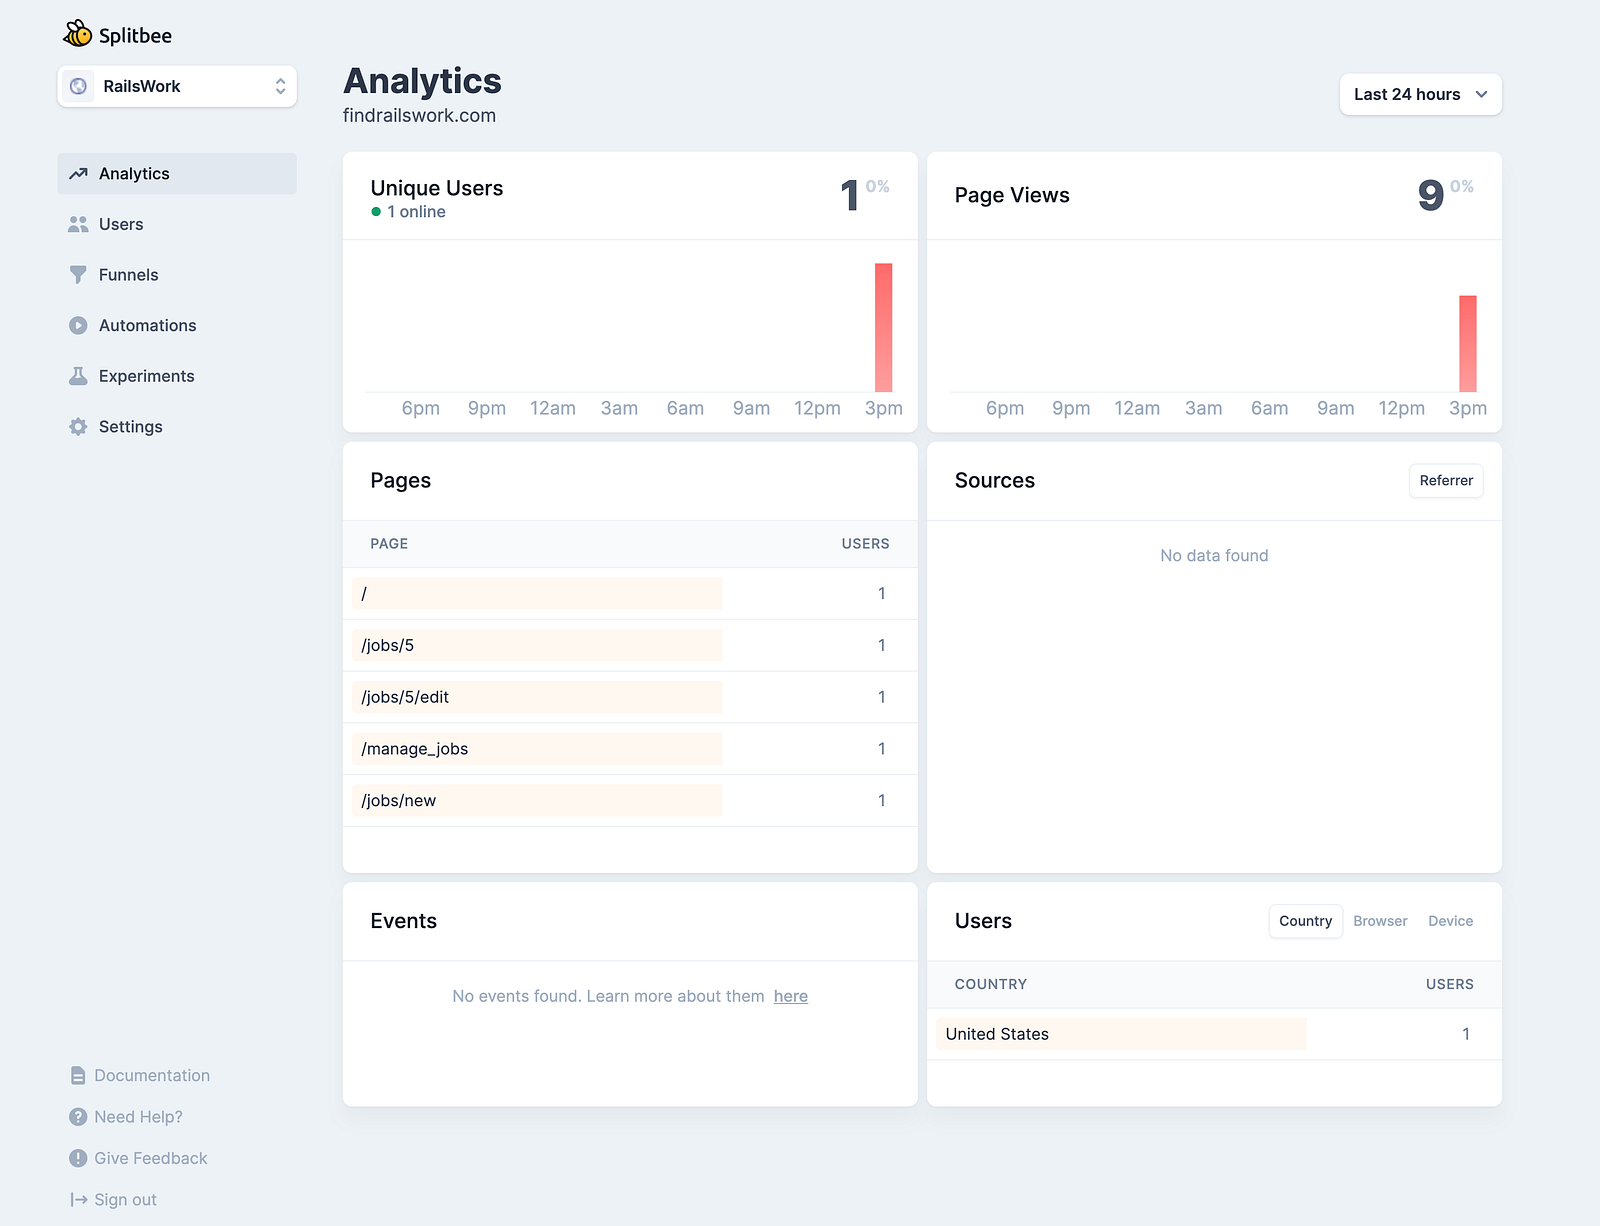
I also wanted to know how my users were using my app, and how my changes to it are received. I wanted an analytics solution that didn’t invade user’s privacy. I’ve heard a lot of good things about Plausible, but I wasn’t quite ready to go for their pricing. I went with Splitbee, which respects user privacy, has really easy-to-understand analytics, wonderful design, and happens to be free for my traffic level!
I also added an administrative tool that essentially acts as a GUI wrapper for the Rails console so that I can manipulate database data quickly if something catastrophic requires my intervention. This hasn’t come in handy yet but I have a feeling that at some point I’ll be grateful it’s already there. Again, free!
What’s Next
It’s only been a week, and I have a lot planned for this app. It’s a pretty basic CRUD app with a really solid foundation to build off, so I’m excited to see where it goes.
First, I’d like to make the job board itself a little more usable. I plan on adding filters for job seekers to filter by remote, salary, location, and more. I also want to add an automated mailer that will send a weekly email to subscribers with any new postings, but I don’t know where to begin with that.
The application certainly needs a lot of search-engine-optimization in order to show up in search results. I figure the best way to start ranking when people search of Rails jobs is to become a valuable place to look for Rails jobs! That’s why I’ll be adding jobs myself for quite a while to keep the job board up to date, and I also added a resources page that I’ll fill with tutorials and blogs about becoming a better Rails developer.
At some point along the way, I’ll integrate Stripe to handle user payments. I figure recruiters will want to see some data on their ROI, so I want to wait until analytics show between 300–600 hits a month, or 10–20 a day. I plan to use Stripe Checkout and just charge a single fee for job postings. Still debating on pricing so if you have any ideas let me know!